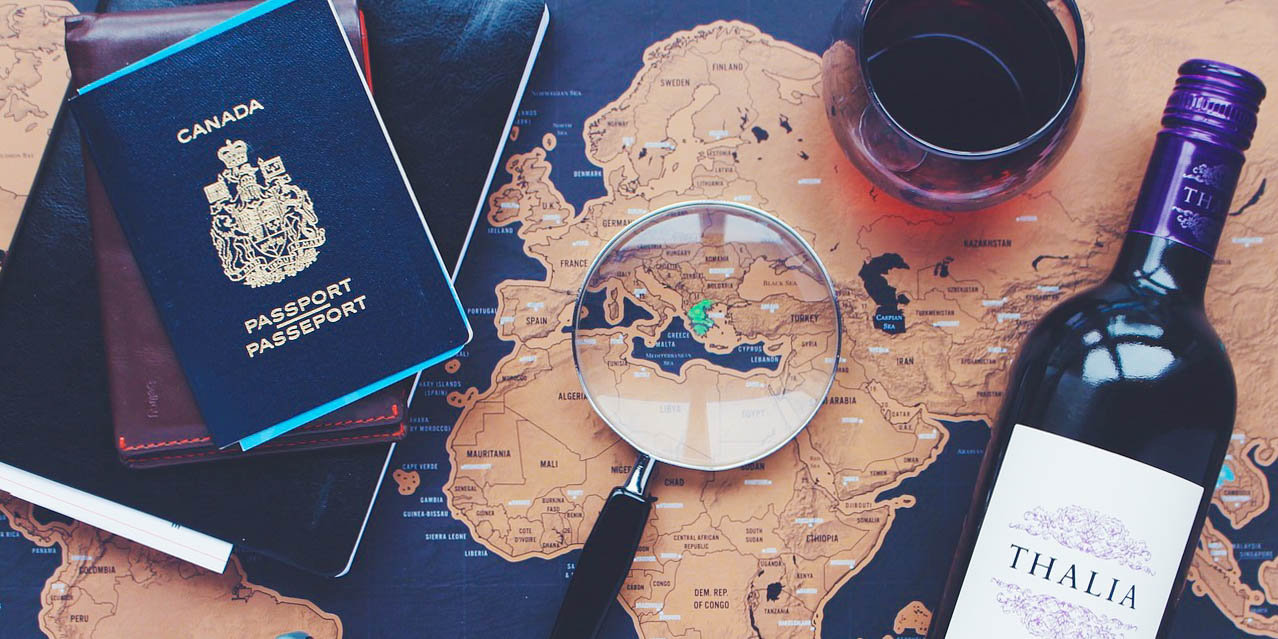
There are numerous things to think about when planning to go on a trip. It may sound simple enough – book a flight, go to the airport, and take off. But, there can be many documents required, security checks to do, and things to think about – both before arriving at the airport, and during the check-in process.
In this guide for beginners I’m going to share my advice on the logistics of figuring out exactly what documents are required in order to take a flight, and what you do once you’re actually at the airport. We’ve been at this for almost 8 years, so I have some knowledge to pass your way 🙂
Passport Validity and Requirements
Always make sure that your passport has enough blank pages left in it for the duration of your trip. Even though more and more countries are allowing electronic visas, some countries require you to purchase a full-page visa sticker, while others just give you a small stamp on entry. Thankfully, there are numerous visa free countries to choose from as well.
Have at least 3 blank pages left in your passport when going on a short trip, and 6 when going on a longer one.
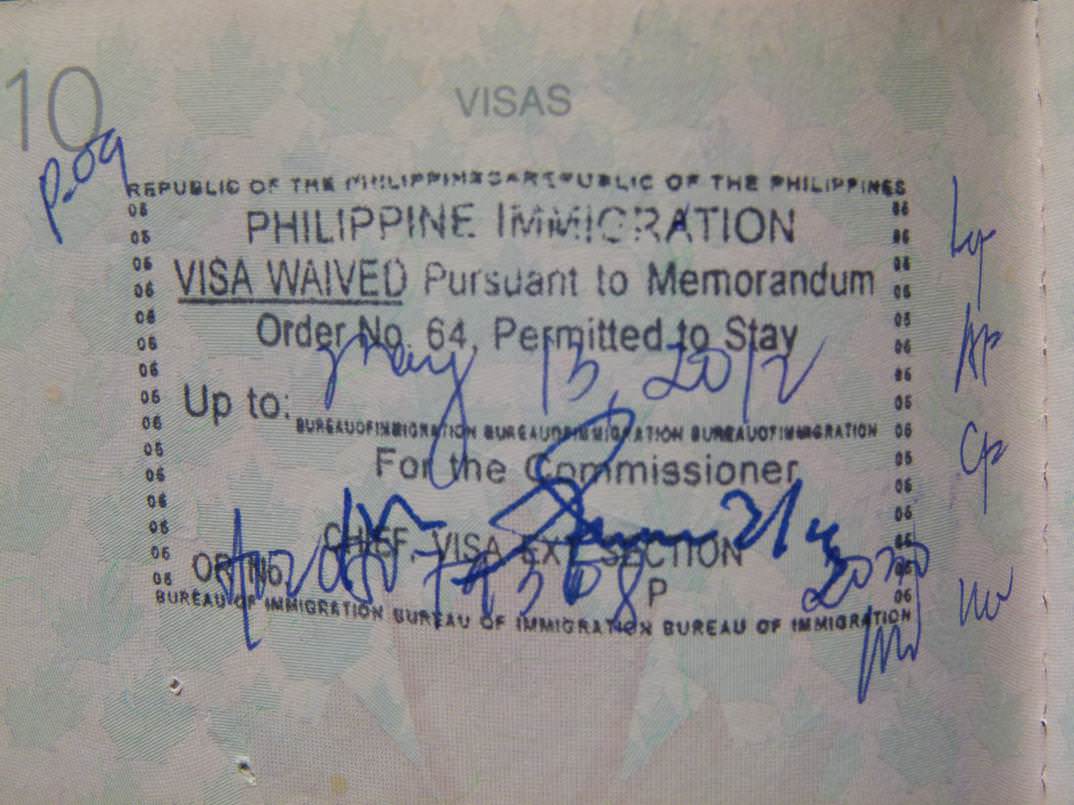
Another important thing is to make sure that you have the required amount of time left on your passport before its expiry date. All countries have rules and regulations regarding this.
For example, if you are boarding a flight with a passport from Canada, the United States of America, or the UK, and are flying to France, then you are required to present a passport that is be valid for at least three months beyond the date of expected departure from the Schengen area. This is France’s law, other countries may have different regulations – always check.
For travel to France:
From the Canadian government travel site – Travel.gc.ca: “Canadians are required to present a passport that must be valid for at least three months beyond the date of expected departure from the Schengen area.”
From the United States Government travel site – Travel.state.gov: “PASSPORT VALIDITY: Must be valid for at least three months beyond your planned date of departure from the Schengen area.”
From the United Kingdom Government travel site – Gov.uk: “Your passport should be valid for the proposed duration of your stay; you don’t need any additional period of validity on your passport beyond this”.
So, as a Canadian or American, if you are planning on staying in France for 3 months, you must also have another 3 months available before your passport expires, for a total of 6 months.
This stipulation is strictly enforced, and if you don’t have ample time left before your passport expires, you will be denied boarding your flight (we learned this the hard way).
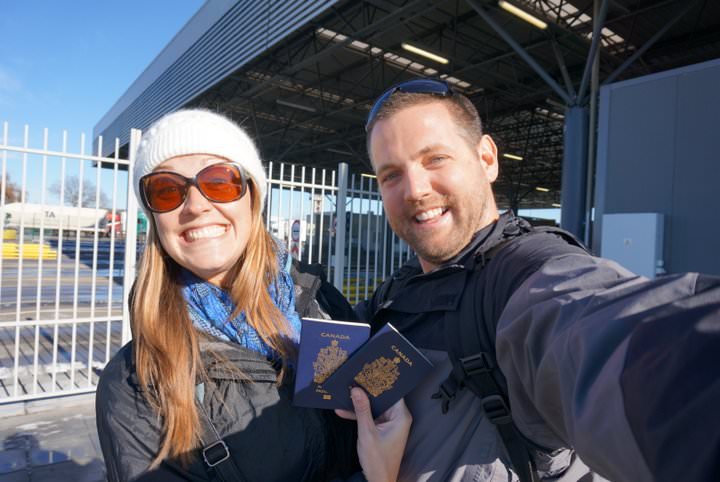
Flight Ticket
These days, everything is done electronically, so you don’t actually need to print out your booking itinerary. You can just show up at the airline check-in desk and hand them your passport, and they will look you up on their computer.
Many airlines and countries require that you show proof of a return (or exit) flight out of the country you plan on travelling to. Otherwise, you may be denied boarding.
One such example is Thailand.
From the Canadian Government travel site – Travel.gc.ca: “Immigration officials can require visitors who are entering without obtaining a visa in advance to show a return or onward ticket”.
From the United States Government travel site – Travel.state.gov: “Thai immigration officials may ask for your onward/return ticket, and airlines may ask for this information when you book or check in”. (A further note is that for U.S. passport holders must have a passport valid for 6 months after the date of entry into Thailand).
From the United Kingdom Government travel site – Gov.uk: “Immigration officials in Thailand may ask you for proof of onward travel. Some airlines have refused to board passengers without evidence of onward travel”.
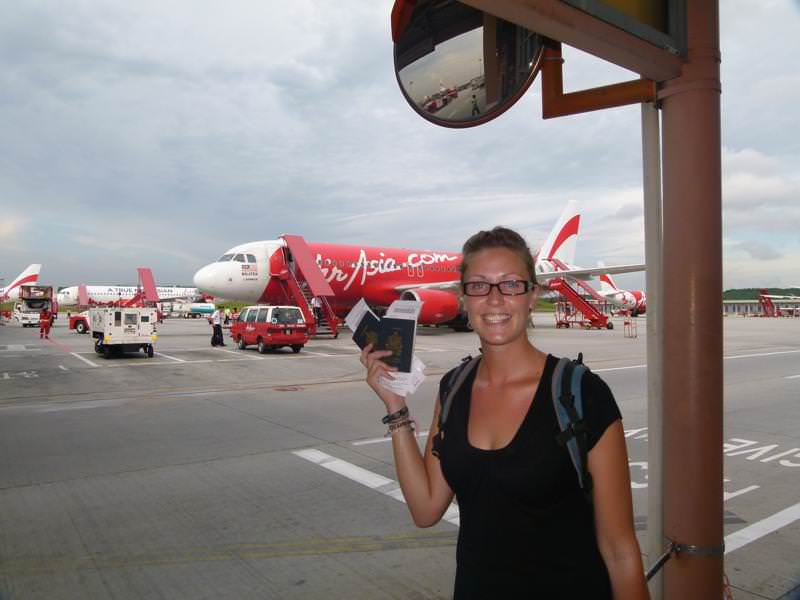
As you can see, if you are planning on travelling to Thailand, you will need to show proof that you plan on actually leaving Thailand – even though you may never want to!
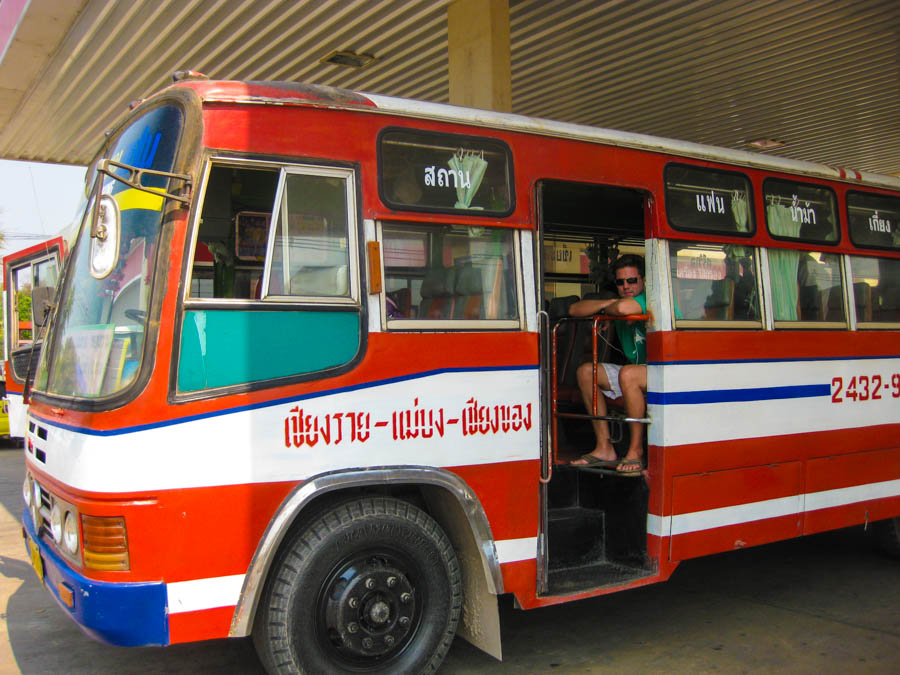
Maybe you plan on leaving by way of bus to neighbouring Cambodia, but aren’t sure which date you want to leave, so you plan to book a last-minute bus when you are actually in Thailand.
This doesn’t meet the regulations. So what do you do?
You can book a flight with an airline or booking service that has free cancellation (Expedia has free cancellation for 24 hours). Book the flight, have the confirmation emailed to yourself and / or printed out, and then cancel the flight after you have received the confirmation and documentation.
Just make sure that the flight you are booking out of Thailand departs Thailand within 30 days after landing in the country! Immigration officials won’t accept return flights if they are beyond your maximum stay (in Thailand this is 30 days).
If you don’t want to book and cancel a flight, just head into a travel agent and have them print you off an itinerary.
*Note: This happened to us when we were trying to fly from Vancouver to Bangkok on our first backpacking trip. Korean Air wouldn’t let us board the flight. In a panic, we purchased a cheap AirAsia flight from Thailand to Cambodia for a couple hundred dollars. These days, however, we just book a flight and then cancel it, as described above, or print out an itinerary without actually booking a flight.
Travel Insurance
It’s good practice to always travel with insurance, but in some cases, it’s obligatory to show proof of a policy before entering the country.
A prime example of this is when travelling to Cuba. If you don’t have insurance, you will be forced to purchase this at the airport when you arrive – which costs around $5 / day, and you might not know exactly what you’re getting with your policy.
Purchase an insurance policy ahead of time to avoid this uncertainty.
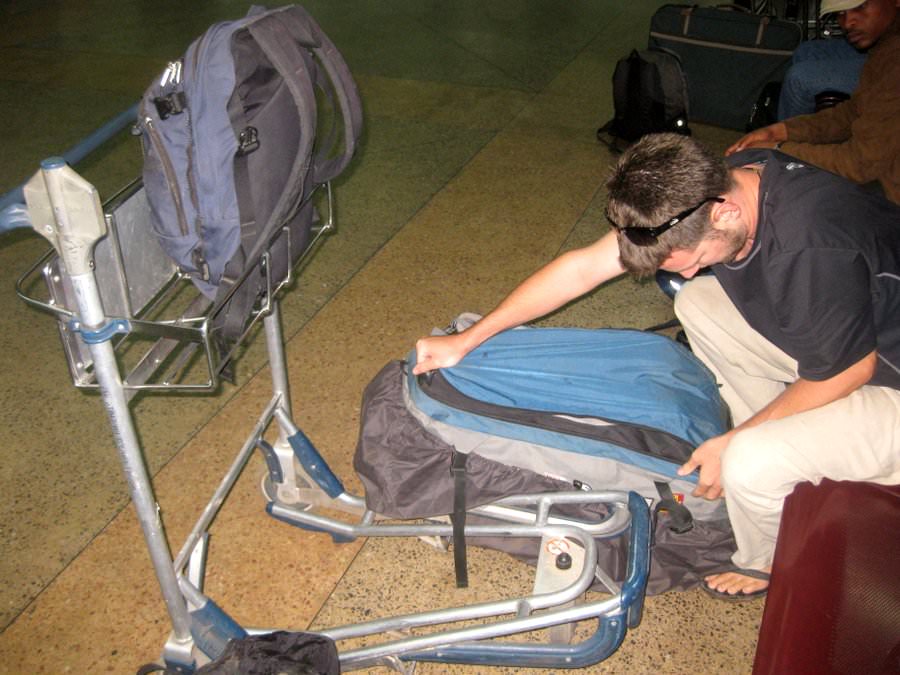
Luggage Allowance
These days, there are baggage charges popping up everywhere. If you are able to travel with just a carry-on bag, you will be able to avoid the recently added luggage fees charged by many airlines.
Except for Southwest and JetBlue, all other major carriers in the United States charge for each checked bag. The rates start at $20 / bag and go upwards (usually $25).
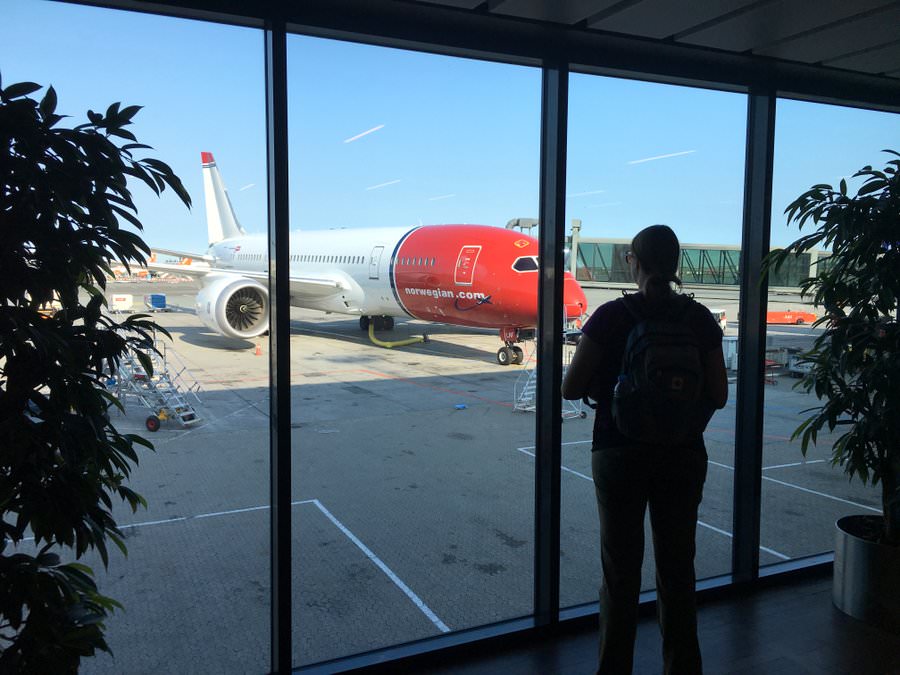
On the budget airlines such as Ryan Air, Easy Jet, Air Asia, Norwegian Airlines, and IndiGo (to name a few), no free baggage is offered. Norwegian actually charges $53 / checked bag (!).
Outside of the USA, many other major airlines still offer free checked baggage… for now.
Often you can pay for your bags when booking your flight online. Other times, they will require you to pay for your baggage at the check-in counter. Make sure to have the correct amount of cash with you, and / or your credit card.
On another note, you will have to pay extra if you go over the weight allowance! Always check your airline’s baggage terms and conditions before setting off. You can even pick up a handheld scale for your bag to check its weight before arriving at the airport.
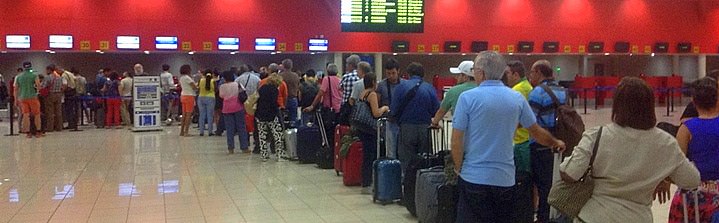
Checking-in, Customs and Immigration
Airports can be overwhelming – especially the major international ones. Allow yourself lots of extra time to figure out where you need to be so that you don’t miss your flight. We always arrive at the airport 3 hours before our flight departure time (unless it’s a small airport).
When you first arrive at the airport, have a look at the large ‘Departure and Arrival’ screen that you’ll find in numerous spots around the airport. This will show all of the flights that are departing and arriving, both currently, and within the next few hours.
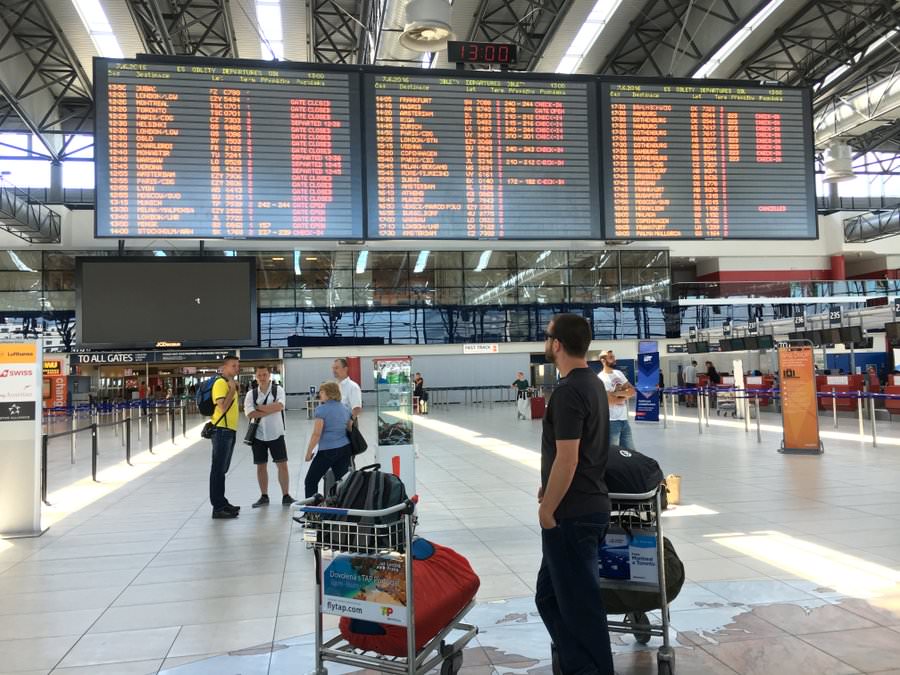
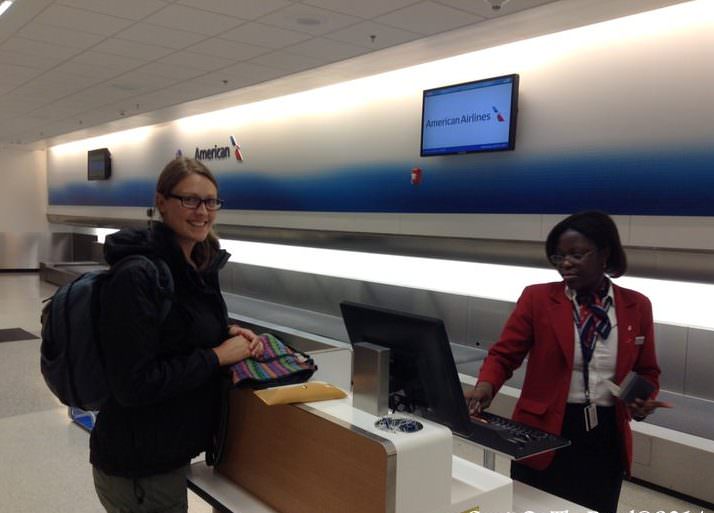
Once you find your flight number on the big screen, look for the check-in counter number (or letter), as well as your gate number. Head to the check-in counter first in order to get your boarding pass for the flight, and to drop off your bags.
If you don’t see your flight on the screen, don’t panic. Often they don’t list the flight until 2 hours before departure. Look around for the counter of the airline that you’re flying with and ask them when you can check in.
Once at the open counter, the airline attendant will weigh your luggage, scan your passport and give you your boarding pass.
If you have a connecting flight, always confirm with the attendant that your luggage will be checked through to your final destination. Feel free to ask as many questions as you need – you want to feel comfortable and certain about what’s happening with your belongings!
Once you’ve dropped off your bags and you have your boarding pass, you can make your way to security. You will have to put your carry-on bags through a conveyor belt to be scanned, and you will have to walk through a security scanner as well.
On the other side of the security check, collect your bag and your belongings and make your way to your gate. The gate number is listed on your boarding pass, and also on the screens found around the airport. Once you’ve found your gate, all that’s left to do is wait for the announcement to board your flight!
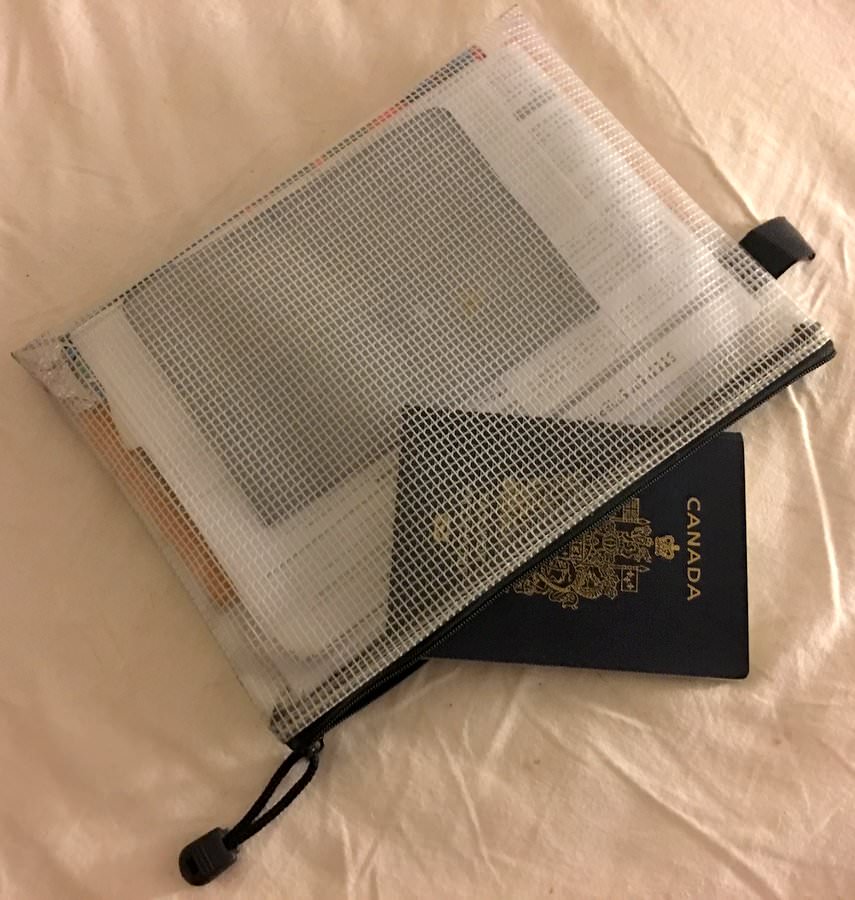
*Note: I recommend having a plastic envelope / sleeve of some sort to hold your passport, boarding pass, flight itinerary (if printed), and pens for filling out customs and immigration forms (this is typically done on the plane before arriving at your destination). This is a useful item to keep everything organized on hectic travel days.
A Quick Summary:
- Make Sure you have at least 3 pages and 6 months left in your passport
- Always have an onward / return flight (or at least an itinerary printed) before flying
- Get good travel insurance before you go
- Keep your baggage light and be prepared to pay $25 for checked luggage
- Order of operations: Check in, check your bag, go through security, head to gate, board flight
- Keep your stuff organized
Ready to Go?
There are numerous things to think about when planning and preparing for a trip, but the most important aspect is definitely making sure to have your paperwork and documents in order… that, and not missing your flight!
Hopefully this article helped answer some of the questions and concerns you may have had about which documents are required, and what to expect at the airport.
For more useful articles about travel planning, check out our Getting Started Section.
Like this post? Pin it!


Comments are closed.